

Many real estate professionals ask themselves this question. Most people understand editing real estate photos as brightening up their photo a little, putting a color filter on it and sharpening the picture if necessary. Ambitious brokers like to swap out the sky or move furniture and trees.
Editing real estate photos – the reasons
When I’m shooting real estate images on set, I always try to take the best photo quality possible. This significantly reduces the steps required when editing real estate photos and saves a great deal of time.
But to answer the question in the title: „Yes. I edit all my real estate photos.“
But I’d like to stress, that it is important to weight the image processing according to different criteria, because the deficits in real estate photos have different reasons:
- Deficiencies in the photo equipment (even if it is quite powerful)
are almost always present - Complicated light with strong contrasts between interiors and exteriors
is almost always present - Errors in the scene
sometimes happen when there was not enough quiet to take pictures - Misoperation of the camera
occurs very rarely
Does image processing need a lot of effort?
I have developed an 8-step workflow with which well-photographed real estate photos can be edited very quickly. In my workshops on image processing for real estate photos, the students need less than 2 minutes per image for basic processing at the end of the day. Every single one of them is amazed at how easily he or she can get much more quality out of their images – even if they are already quite well photographed.

This is how image processing helps: Left – image directly out of a simple camera / right – image optimized in 8 steps.
Optical corrections
Admittedly – it sounds a bit strange: You’re spending a four-digit amount for top-quality photo equipment, and the lens still has optical errors. Of course, the more expensive a lens is, the better it is optically corrected, but technology quickly comes to its limits, especially in the wide-angle range. It is simply not financially feasible for the manufacturers to develop top-quality lenses suitable for the masses at marketable prices that do not have any flaws.

Lens Corrections palette in Adobe Lightroom Classic
They don’t have to, because good software can often eliminate these errors almost automatically with just a few mouse clicks. These are the four mainly prevalent errors:
- curved lines at the edges of the image
- decrease of image sharpness towards the edges
- color fringes at contrast lines (chromatic aberrations)
- gradual shading towards the corners of the image (vignetting)
In Adobe Lightroom Classic – the software I recommend and also use in my image processing workshop – I just check two options in the right place to correct these ugly errors. The software knows the errors of the individual lenses by itself and works with a correction profile that is applied in real time. Such correction profiles are available for almost all common camera lenses. For lenses that are still unknown, you can experiment with related profiles or create your own correction set.
Smaller errors in the exact alignment of the camera can also be eliminated in the software with a few mouse clicks (maximum 4).
Exposure and color corrections
With our eyesight, we are usually able to compensate for the strong light contrasts between indoor and outdoor light, which streams in through the windows, for example. We often don’t even notice it.
Cameras, on the other hand, are very limited in this discipline, in terms of the so-called dynamic range. Professional cameras capture about half the brightness range of the human eye performance. With smartphones you often end up at a third.
Nevertheless, there are chances to subsequently spread the captured brightness spectrum. On the one hand, this is done via settings in the image processing software, which can stretch the so-called tonality of an image. In this process, details that are barely visible are sought in the brightest and darkest areas of the image in order to intensify them. This works all the better the more image information the photo file has captured – the file should be compressed as little as possible when it is saved in the camera.
The rescue for real estate photos – RAW format
At the beginning I wrote that images should be captured in-camera as best as possible. This not only applies to the lighting, the image section and the order in the scene. It is also about storing the greatest possible variety of information in the image file. If you take photos in the conventional JPG format (this is the standard setting for many cameras), you accept that a large part of the hidden image information will be deleted in order to take up less storage space. Thus, the first brutal image processing takes place in-camera.
In real estate photography, however, this information is essential for survival. Editing real estate photos can bring out a lot of image details that seemed to have been swallowed up either in the lightest or darkest areas of an image. And colors will also be better retained with that. In addition, modern cameras can take photos in the so-called RAW format, in which all information that the combination of lens and camera sensor was able to capture on site is saved untouched in the image file.
However, RAW files must be processed, and they usually cannot be displayed on the computer without specific software. But for me that‘s a no-brainer, since I edit my pictures anyway. I use Adobe Lightroom Classic for viewing and retouching. In the end of the retouching process I create a common JPG file that contains all the details AND still has a smaller memory size.
There is a separate post on the subject of RAW format here.
HDR can help
Best practice for achieving a large light spectrum is the production of HDR images (HDR – High Dynamic Range – High Dynamic Range). In this case, several shots with different levels of brightness are taken with exactly the same viewing angle. The image processing software takes the correctly exposed areas from all the photos and blends them seamlessly. Some cameras offer to run this HDR function right when the picture is taken. I cannot recommend this, however, because the subsequent in-camera processing is usually not done with the required sensibility either.
Retouching of individual picture elements
Current software gives us almost every freedom to manipulate an image.
Fake Sky – The sun cannot be forced
Probably the most frequently performed local retouching of real estate photos is the insert of a sunny sky. Many brokers are proud of this. However, in most cases the viewer notices that something is wrong with the picture. If the object was taken with a gray sky, all the shadows no longer fit because they are much too soft for sunny weather. The expected reflections on all glossy surfaces are also missing.
Badly replaced sky: left – original image – right: fake sky installed. Well made, but you can tell that something isn’t quite right.
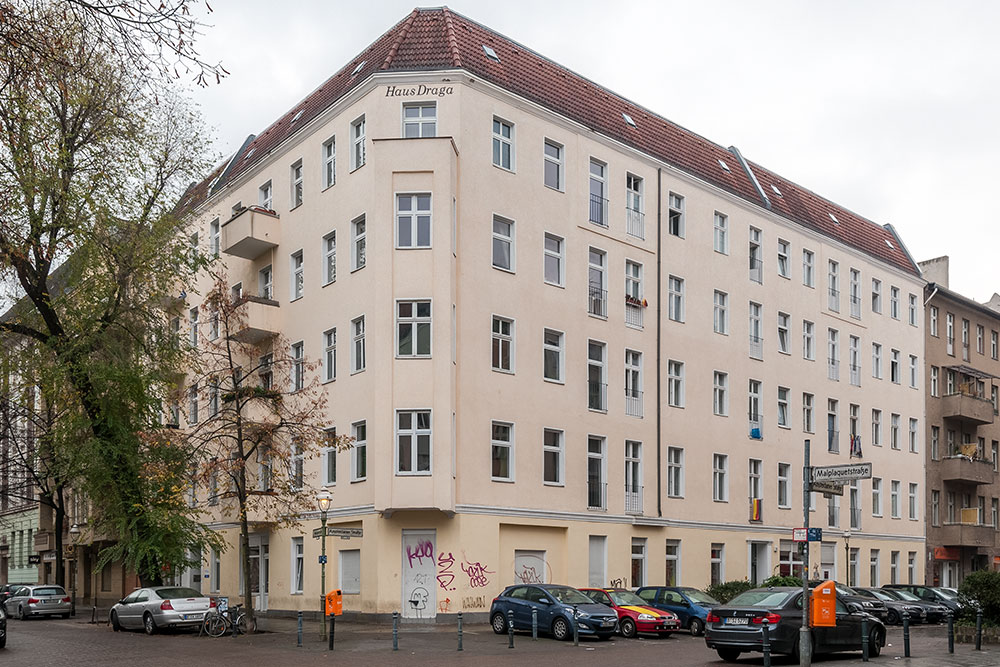
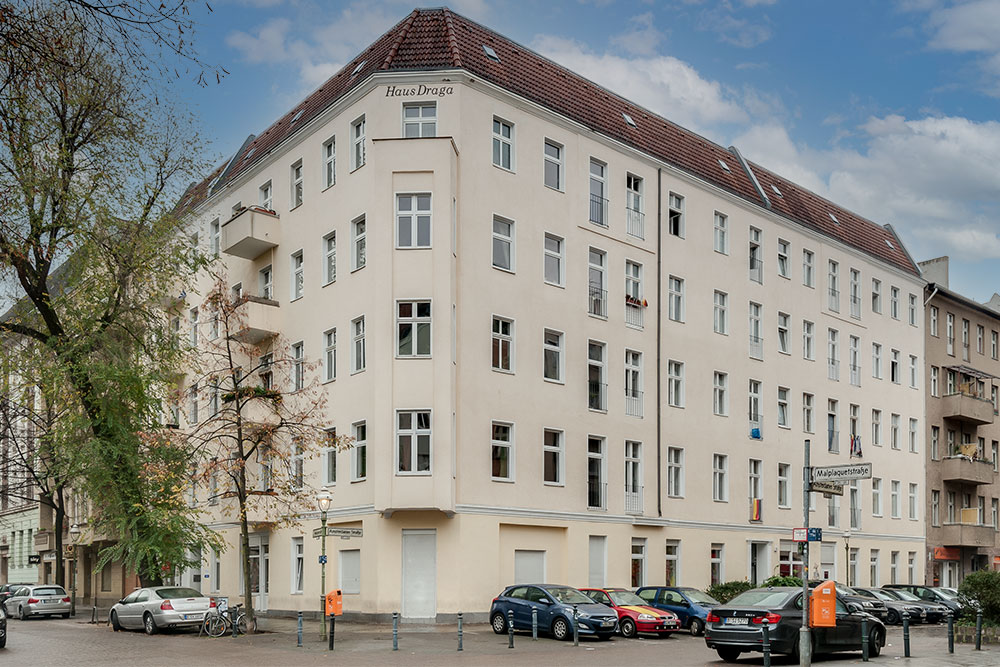
The graffiti on the facade was replaced at the manager’s request (the painter wanted to come the next day).
If you wanted to correct these deficiencies in image processing, it would often be cheaper to simply take the same photograph again on a nice day. However, the feeling of discomfort on the side of the viewer by a cheated picture must be prevented at all costs, because real estate photos as commercial shots should always be looked at with a good feeling.
Correcting the Contents of an Image
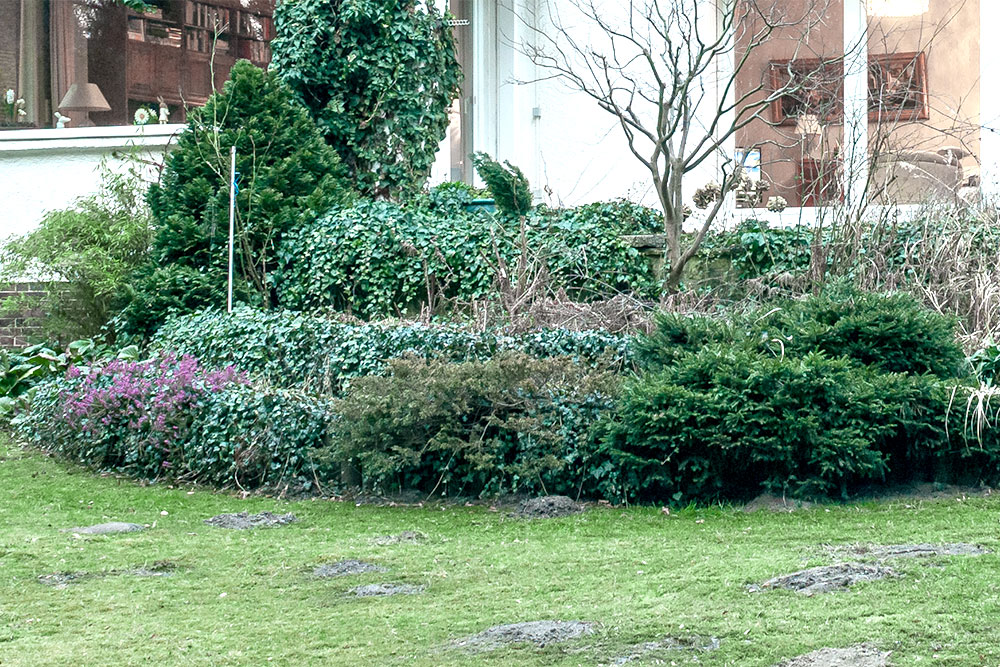
Enlarged section from an outdoor shot – left: molehills adorn the lawn, right: digital exterminator by Photoshop
But it can also happen that digital construction and gardening work is done with retouching tools if a property has to be photographed early in the sales process. Graffiti art can be eliminated, missing wall plaster can be replaced, crazy pipes can disappear, annoying branches have to be removed or molehills can be leveled. However, I take it for granted that this work actually took place on site before the property was released for viewing. Otherwise, confidence in the seriousness of the broker would be damaged. This retouching must not turn into fake images.
And then there are retouches that do not falsify the message of the picture. This includes the correction of all mobile objects. But also the removal of unexpected reflections and shadows that cannot be explained by the selected image section.
Editing real estate photos – the final touch
In addition, you have to give the photos the necessary crispness by image processing. This is achieved by slightly increasing the sharpness of the image, but also by correcting the mid-tone contrasts. Thus, image elements in the mid-tone values also stand out a little more from one another. The eye of the viewer will love this.
Defining the exact white and black points is also important, especially if you intend to print the images.
Conclusion
If you want strong shots, you have to edit real estate photos. You can
- fix technical errors
- make more details visible
- set correct brightness and colors
- make small corrections to parts of the scene.
These image repairs aim to give the viewer the most pleasant feeling possible when looking at the pictures. Even if this feeling lasts only a few seconds per image, he will absorb it picture by picture. And then starts studying the hard facts about the object in question with a positive mood.
In the best case, he has already fallen in love with the property.
More links